A lot of people are getting the Cricut Joy Xtra and don’t know how to use them. Felicia has gotten so many questions that she decided how to show people quickly how to use their Cricut Joy Xtra by making two very simple projects – a heat transfer vinyl (HTV) t-shirt and some kiss-cut stickers.
If you’re still thinking about purchasing this machine, you should really ask yourself – “which Cricut machine should I buy?” There are currently more than six Cricut cutting machine products available (Joy, Joy Xtra, Explore 2, Explore 3, Maker, Maker 3, and Venture). Basically, they all do the same thing. But it’s how they do what they do, and how many different materials each machine can cut that makes the choice a little more tricky. We do offer affiliate links at the bottom of this blog post. When you purchase using our special links, we may earn a small commission that helps pay for this blog and our training materials, so thank you! Felicia produced a very helpful guide that covers all the capabilities and choices. You can watch it below.
Using your new Cricut Joy Xtra can seem a little tricky at first, but Felicia will show you how easy it is to use Cricut’s Design Space software to create tshirts and stickers. Pause, rewind, and play it back as many times as you need to and you’ll soon be a Cricut Joy Xtra Master! Here is the video presentation from our @FamilyUnit YouTube channel:
Here are links to chapters or sections in this YouTube video:
00:00 Introduction
00:44 Design a T-shirt
02:00 Trim Material to Size
03:54 Heat Press Guide
06:07 How to Make Stickers
07:22 Add Offset to Stickers
09:00 Printing and Cutting
Setting Up Your Cricut Joy Xtra
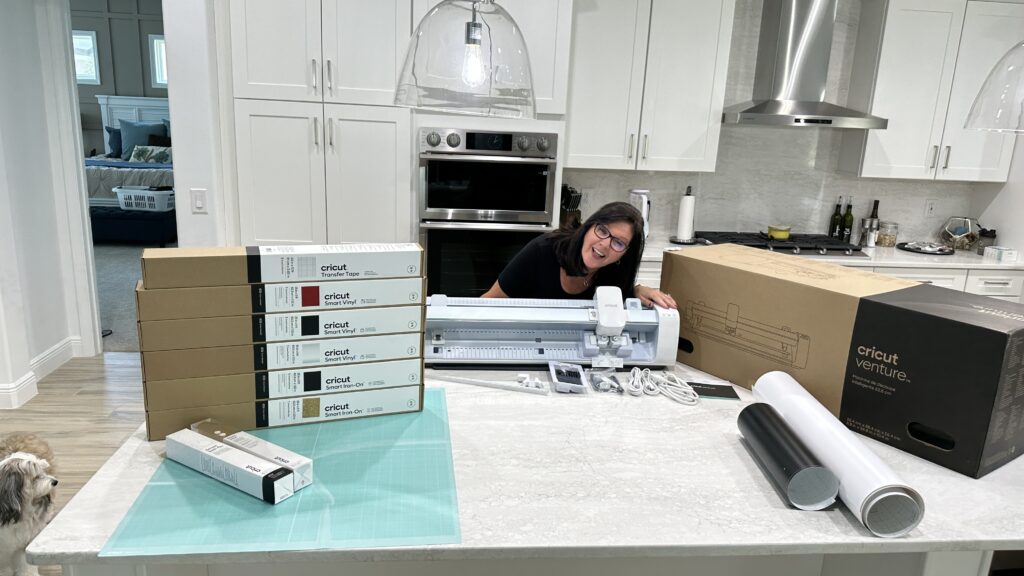
Note that if you purchase a Cricut Joy Xtra machine outside of a bundle, you will not receive a cutting mat. The $12 mat is necessary for cutting many types of vinyl and for all print and cut sticker projects. We have a link to the official Cricut mat towards the bottom of this blog post.
The Cricut Joy Xtra machine itself doesn’t have any buttons. The only thing you have to do with this is plug in the power cord in the back. There are no connector cords or USB cables, because connecting to the Cricut Joy Xtra is done via a wireless Bluetooth connection. All scanning and cutting is controlled through Cricut’s Design Space software which works with most PCs, Macs, iPads, iPhones, and Android devices.
Simply download Cricut’s free Design Space software from cricut.com here: https://design.cricut.com/
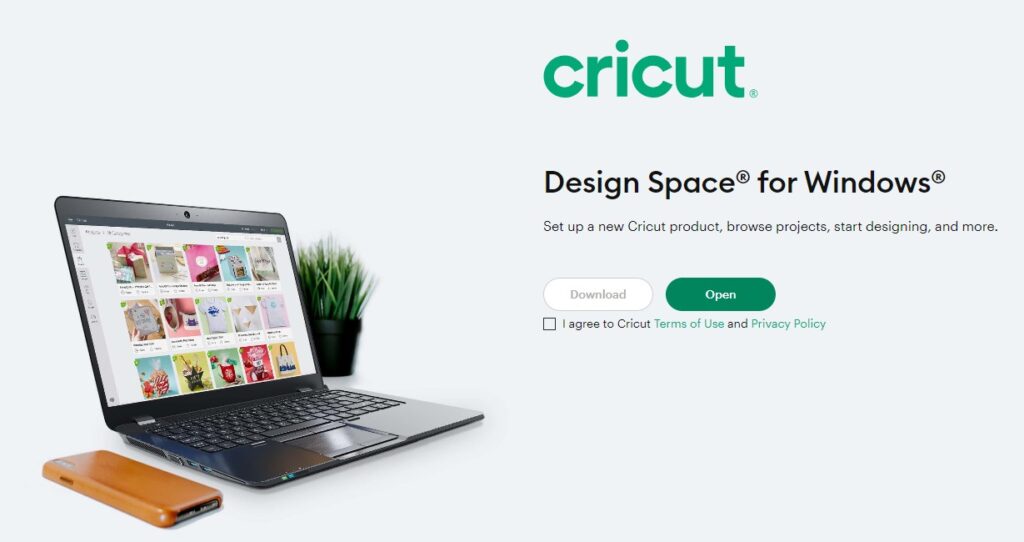
Design Space is very easy to install. You will need to set up a free Cricut account using a valid e-mail address. You will then be required to register each of your Cricut machines with Cricut using Design Space. Don’t worry, it’s super easy and completely free to register.
You may be presented with an option to sign up for a program called Cricut Access, which gets you access to over 500,000 additional images and over 700 fonts that can help inspire your creations. Cricut Access also includes discounts on purchasing Cricut machines and accessories when purchased directly from Cricut, and a faster customer support queue if necessary. There is a fee for that service that ranges somewhere between $95 to $120 per year depending on the level you choose, but it’s completely optional.
Your First Cricut Joy Xtra Project: Make a Custom T-Shirt!
Tim’s favorite thing to do with his Cricut is to make T-shirts. He says it’s because he feels empowered to create shirts or hoodies that basically say anything he wants, and especially things you’d never be able to buy in a store. And if you know Tim, you’ll never know what might be on his next shirt! You can cut preset designs, or just type letters saying whatever you want, in the font of your choice, and minutes later you’ve got a custom T-shirt no one else in the world has! Tim’s favorite shirt is his Cruise Reviews shirt because he was able to create a vinyl QR code on the back of his shirt that people scan that lead them to his YouTube channel. You can see that video here.
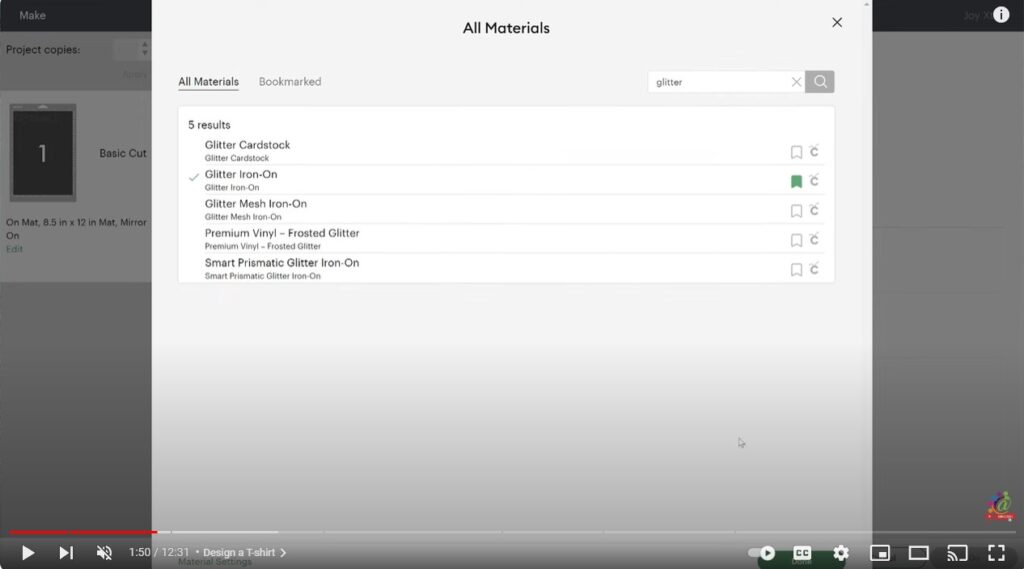
We will using glitter HTV, or heat transfer vinyl for this project. A popular question we get is which HTV do we need to use? Do we have to use Cricut HTV or can we use any brand? Any brand will do. And as we found while testing five of the most popular brands of heat transfer vinyl, including Cricut’s own brand, Hobby Lobby’s brand, and Michael’s brand, they are all very similar.
Rather than choose a generic free design from the Cricut Design Space software, Felicia decided to use the text tool to type her own message to cut with her Cricut Joy Xtra. She was able to choose the font she wanted from the long list of Cricut fonts in the software. She noticed all the fonts on her Windows computer were also available, which means you can basically use any font you can get your hands on. Remember that some fonts are copyrighted or even trademarked, so keep this in mind if you intend to sell your creations. Felicia chose a fun and quirky royalty and usage-free font to help communicate her own individual style.
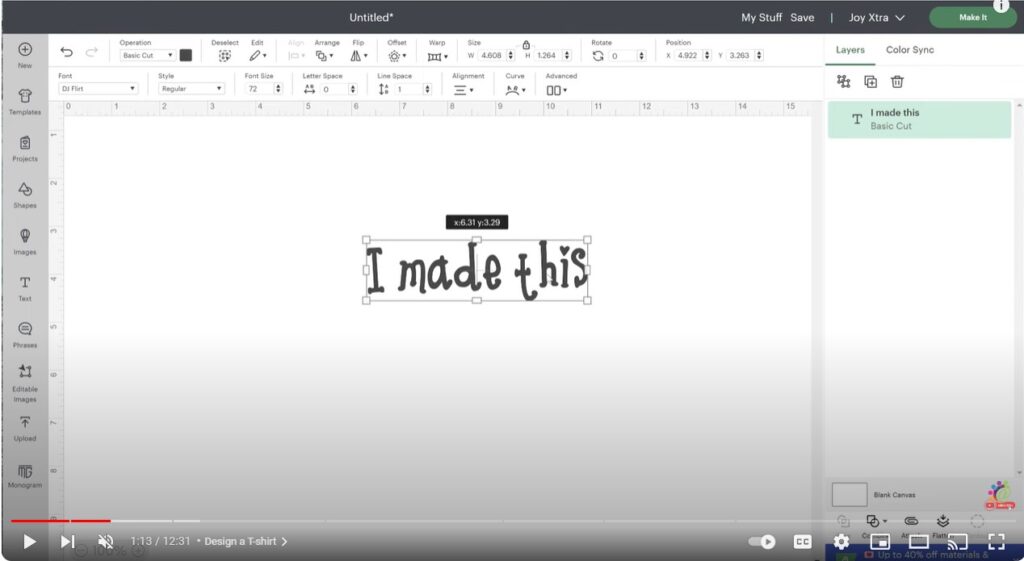
The next step is to size it so it fits neatly on the shirt you’ll apply it on. Too long and it might look awkward. Too short and it might be too small to see. A great tip is to find a commercial shirt you like and measure how long the words are, then make your words the same width.
Now you’re ready to send your fabulous design to your Cricut Joy Xtra to cut! Felicia chose a sparkly glitter HTV. Inside the Design Space software, you will find an option to tell your cutting machine how much pressure to use by choosing the appropriate material. Heat transfer vinyl requires a half-cut, meaning it should only cut the vinyl and not the transfer material underneath it. Felicia found the glitter vinyl cut setting and applied it before sending it to the Cricut Joy Xtra.
The software reminded Felicia to “mirror” her design, meaning to flip it backwards, like looking at written words in a mirror. This is done so the vinyl will show up with the right side up after applying heat and pressure. Simply click the mirror button and it’s ready to cut.
If you’re not using Cricut’s “smart materials,” you’ll need to apply your heat transfer vinyl to something called a cutting mat. Remember, the shiny side always faces down, and the dull side up, towards you, when cutting heat transfer vinyl. This is because you want to cut the vinyl only, and not the reflective plastic backing material that sits underneath the HTV. Felicia likes to cut her vinyl to size to avoid wasting any extra HTV, so she can use it in future projects.

Once you load your mat into the Cricut Joy Xtra, click MAKE IT on your screen, and this will send the design to your Cricut, and it will begin to cut. In our case, it will make all the necessary cuts around the letters in our design.
Once your cut is completed and your mat is ejected, you may need to “weed” out the excess HTV to reveal only the design you’ll want to transfer to your T-shirt. Felicia says she finds weeding relaxing. The remaining letters will stick to the plastic transfer layer, and are ready to be transferred with heat.
Now it’s time to press your HTV on to your T-shirt. The same process is used with T-shirts, hoodies, canvas bags, or any other type of garment. Within Cricut’s Design Space software, they have a quick link to their heat press guide that will tell you the exact recommended temperature and application time for all kinds of fabrics. In this case, we’re using a 100% cotton shirt. Cricut’s guide tells me the recommended temperature is 330 degrees Fahrenheit, and it wants me to hold that heat on there for 30 seconds.
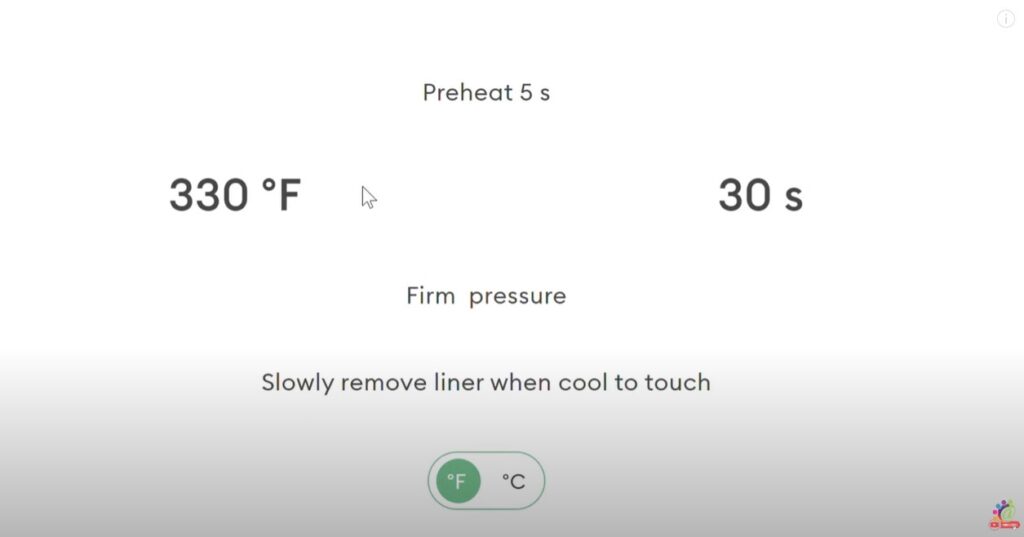
We set our Cricut heat press to 330 degrees. We can pre-heat the front of the T-shirt for 5 seconds which does three things: 1) It helps to remove some excess moisture from the shirt, 2) it flattens the area where I’m going to iron on my design, and 3) it prepares the material to better chemically accept the vinyl adhesive.
Felicia advises people to gently fold your design in half to find the middle point before placing it on the shirt. This helps establish a more centered application. She will then take a ruler and measure roughly 3 inches down from the V on this shirt. You can adjust if you prefer a different location. Then measure side to side to ensure it’s fairly centered.
A teflon sheet, or standard kitchen parchment paper, will help protect your heat press from melted vinyl and will also protect your shirt from any stains on your heat press. Apply the heat for the recommended time, then remove and allow it to cool for a few minutes. Once it’s cool, you can slowly peel the clear plastic backing away from your design, and your shirt is done!
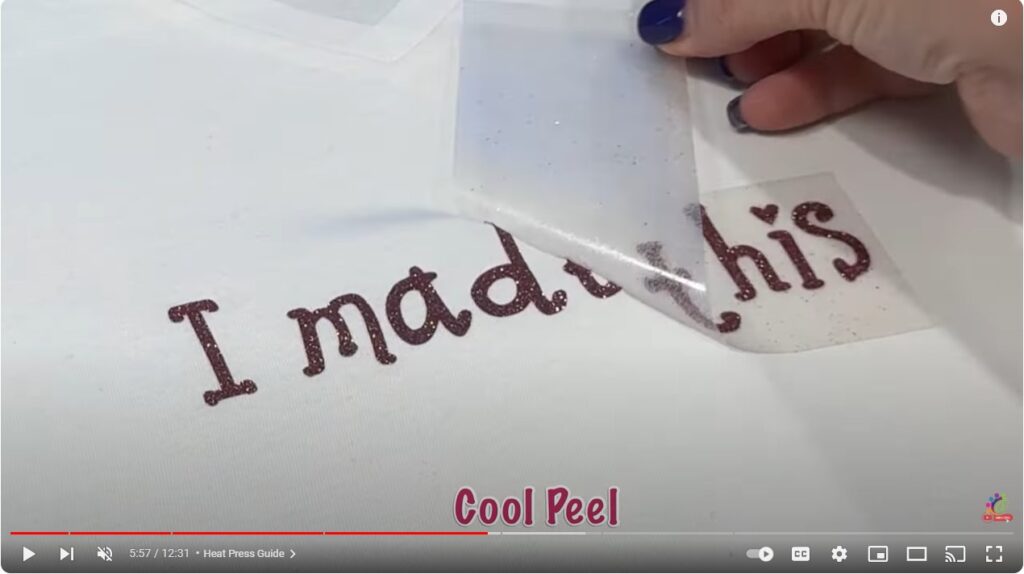
Most HTV companies recommend allowing at least 24 hours for the adhesive to set before wearing or washing your shirt. Sweat or water can affect the longevity of the adhesive before it sets properly. Once it’s set, it’s not uncommon to have a HTV application that can last over 50 washes without peeling or cracking.
If you need a more through HTV tutorial, Felicia guides users through the entire process in this video. The video shows the Cricut Maker 3, but the process is almost identical.
Making Print and Cut Stickers with your Cricut Joy Xtra
Stickers are so hot right now! A lot of people ask about making stickers with Cricut cutting machines. You couldn’t really do it with Cricut Joy, but with the inclusion of the Print and Cut feature in the Cricut Joy Xtra, it’s totally possible. It’s not super easy, but it’s not incredibly difficult either. If you remember to flatten your layers, your stickers will come out perfectly. Felicia produced a comprehensive guide to making stickers or decals in the video below.
If it’s your first time making stickers using the Print and Cut process, here are the steps you can follow for an easy first project. You will need to properly calibrate your Cricut Joy Xtra before doing your first print and cut. Don’t worry, it’s not difficult. Felicia guides you through the calibration process in the above video.
There are tons of free images you can practice with in Design Space. Scroll through and find some pictures you like. In our short tutorial, we chose a bunch of Cricut crickets. Choose the ones you want, and click add to canvas.
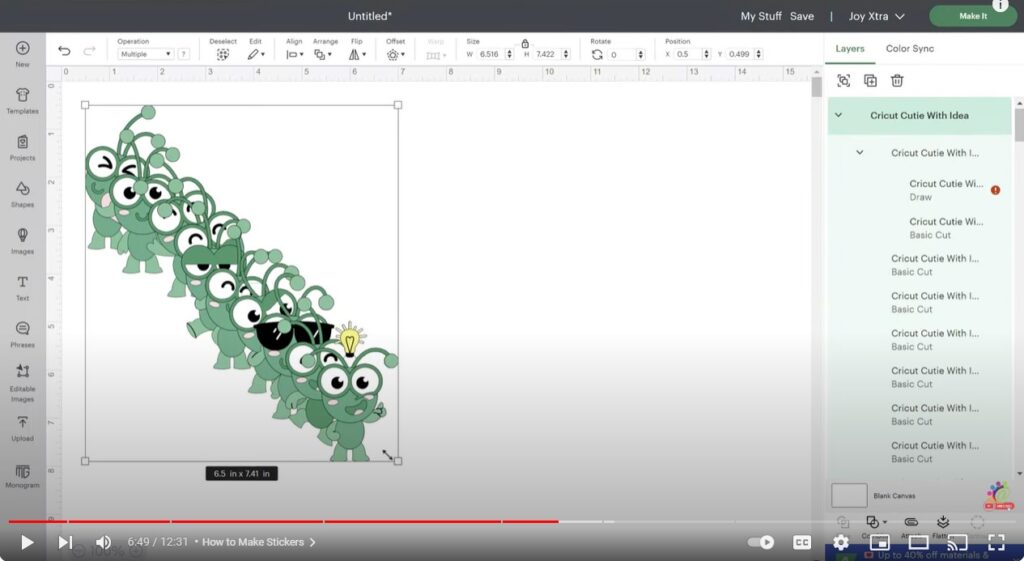
Felicia moved them around on the canvas so she could see each one of them individually. If you look to the right column, you might see each of these images has many layers that make it up. You can play with each of the layers and delete, resize, or modify each layer. But to keep things simple for this tutorial, Felicia “flattened” each cricket design. When you flatten the design, each of the parts is no longer editable. Think of the parts all being smooshed or permanently welded together after they have been flattened. Now, instead of each cricket being comprised of multiple parts, it’s just one single image.
You can proceed to print then cut as is. But, if you notice, many professional stickers have a white or colored border around them. It just makes them look a little more polished. To add the border, you need to apply something called an “offset” to each of the individual flattened crickets. An offset in Cricut Design space adds a white or colored padding that’s the same shape of the image you’re working with. The padding extends past the edges of the image. What many new users fail to realize is that the offset is actually yet another layer. To avoid cutting your image with no offset, and wondering why your Cricut cut the offset itself individually, you’ll need to flatten the image and its corresponding offset.
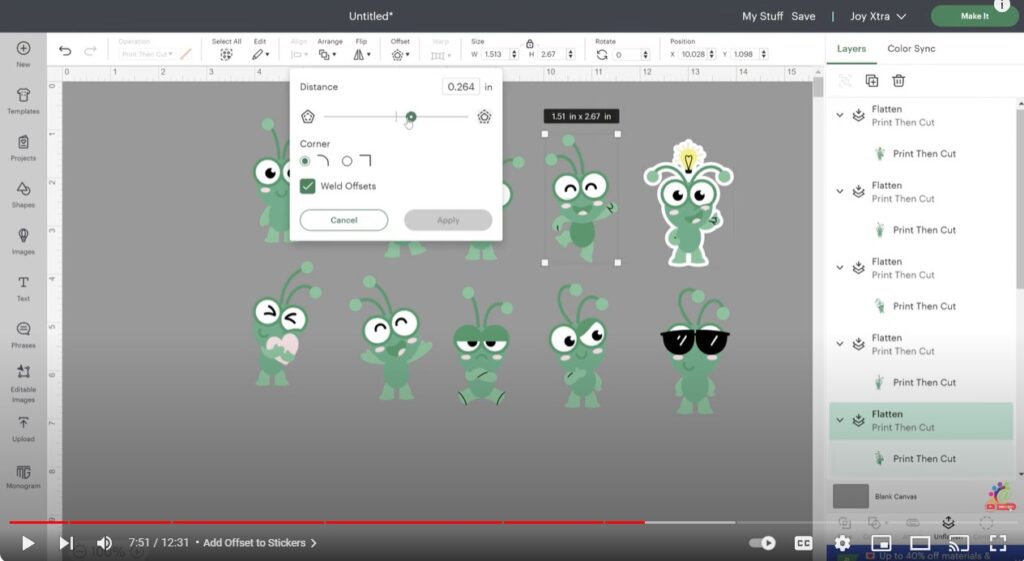
You’ll need to repeat the offset and flatten process for each item on your canvas.
When you’ve offset and flattened everything, you can click continue. The Design Space software will magically arrange all your stickers on to your screen in a manner that won’t let them overlap, so they’ll cut perfectly. You can then print your images on to the sticker paper of your choice. You will notice your printer will print L-shaped registration marks in each corner. This is to help the Cricut sensor align the cut perfectly so your images won’t be crooked or miscut.
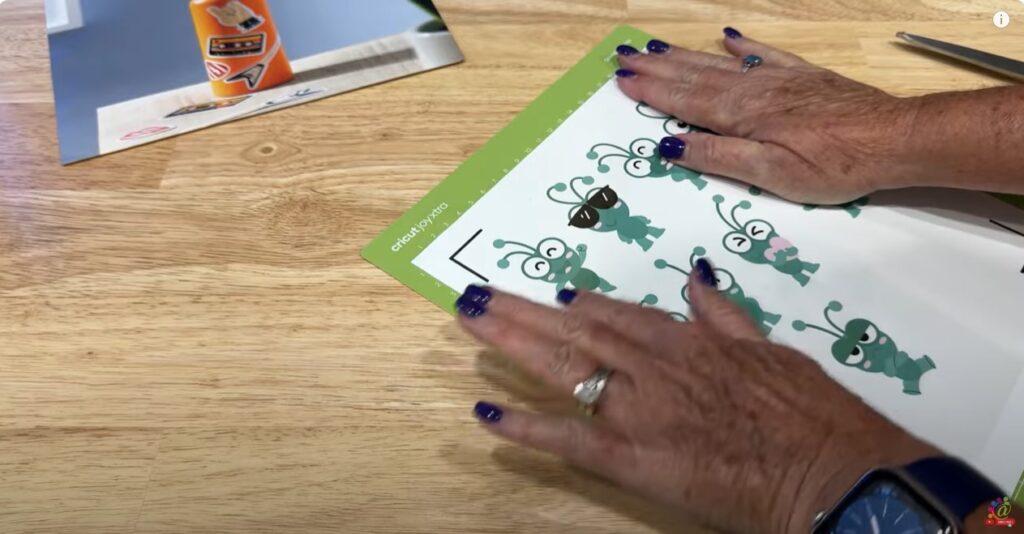
Once your print is done, you’ll apply the printed sticker paper to your Cricut Joy Xtra mat.
In her video, Felicia used Cricut’s own permanent sticker paper. It comes with a cold laminate sheet that’s applied over the print to keep it water proof and tear resistant.
The Cricut Design Space software will make a Bluetooth connection from your computer to your Cricut Joy Xtra cutting machine. Your Cricut will automatically cut around your flattened images with the offsets you added. In this example, we did something called “kiss cut,” meaning just the stickers were left remaining on the sticker paper, allowing you to peel them off individually and place them wherever you like. There is also a “die cut” option, which fully cuts each sticker individually, meant for situations where you want to sell or give away individual stickers rather than an entire sheet.
Once she removes the mat after the stickers have been cut, Felicia likes to flip the mat over to remove the sticker paper from the mat so it doesn’t curl or fold, which might ruin a sticker. She will then grab a weeding tool and start the peel process to expose perfectly kiss cut stickers.
Make sure you subscribe to Felicia’s YouTube channel to see all her Cricut training and tip videos. Thanks and have fun creating!
Helpful Links
✅ Materials used in this video (affiliate links):
➡ Cricut Joy Xtra – https://amzn.to/3tysb0s
➡ Cricut Easy Press 2 – https://amzn.to/3Qlc7Xv
➡ Cricut Heat Mat – https://amzn.to/49jYYqD
➡ Teflon Sheets – https://amzn.to/3sbkE7B
➡ Cricut Glitter HTV – https://amzn.to/3QHKpG8
➡ Cricut joy Xtra Standard Grip Mat – https://amzn.to/45rBzjT
➡ Cricut Trimmer – https://amzn.to/3Sh8tRf
➡ Cricut Weeding Tool – https://amzn.to/3FhCj09
➡ Cricut Waterproof Sticker Set – https://amzn.to/3FF3iTD
✅ Need more crafting products?
👉 Visit Cricut’s Official Site: https://cricut.pxf.io/QOaOBa
👉 Check out our Amazon Craft Idea List: https://amzn.to/46jF0cX
👉 See What We’ve Made on Etsy! https://www.etsy.com/shop/FamilyUnitO…
👉 Teckwrap: https://teckwrapcraftaffiliateprogram…
✅ Subscribe to our YouTube channel! Did you enjoy this video? Do you have any tips to share? Let us know in the comments section below. We appreciate every 👍 and would love it if you’d subscribe to our channel! It’s free! Subscribe here ➡ https://www.youtube.com/@FamilyUnit?s…
✅ Let’s Connect! For all inquiries ➡ hello @ freshandfelicia.com
🎞️ More Helpful How-To Videos
✓ How to Use a Cricut Maker – • Best Introduction to Cricut Maker! Ho…
✓ Brother Scan n Cut SDX125 Review – • Brother Scan n Cut SDX125 Review
✓ Brother SE1900 Sewing and Embroidery Machine – • Brother SE1900 Sewing and Embroidery …
❇ Disclosure: Links included in this blog include affiliate links. If you purchase a product or service with the links that we provide we may receive a small commission that helps us pay our bills. Don’t worry – there is no additional charge to you. Thank you for supporting our blog and channel so we can continue to provide you with free content!